
A Step-by-Step Guide
Formatting a USB drive on macOS is a must and essential for compatibility, performance, and data management. Whether we are preparing a flash drive for cross-platform use, troubleshooting, or erasing sensitive files, macOS offers two primary methods: Disk Utility (visual) and Terminal (command-line).
Article will cover both methods, ensuring you can choose the one which suits you best.
Why Format a USB Drive on macOS?
- Compatibility: Ensure seamless file transfers between macOS, Windows, or Linux.
- File System Optimization: Choose the right format (APFS, exFAT, FAT32, etc.) for your needs.
- Data Security: Permanently erase confidential files.
- Error Resolution: Fix corrupted drives or unrecognized storage devices.
Part 1: Formatting a USB Drive Using Disk Utility (Visual Method)
Disk Utility is the built-in tool for managing the connected storage devices. It’s user-friendly and ideal for those who prefer a graphical user interface.
Step 1: Back Up Your Data
Must be a habit of all Sys Admins before formatting, ensure all important files and folders on the USB flash drive are backed up either on the PC or at an external location e.g. cloud storage or an external storage device.
Note: Formatting erases all data permanently.
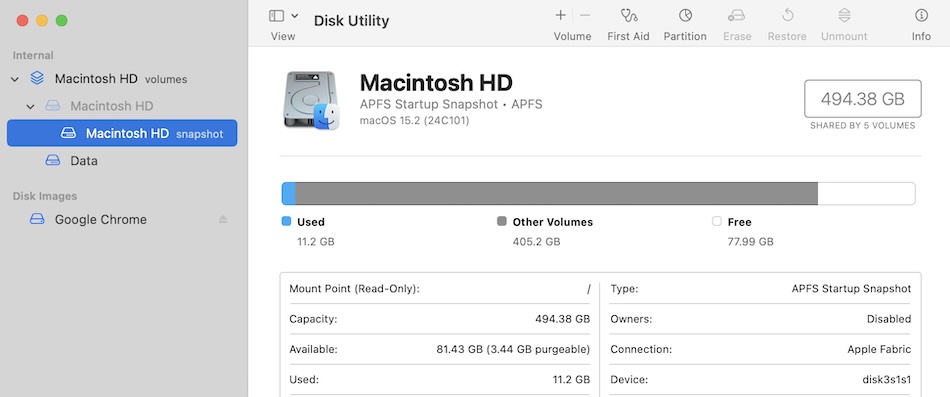
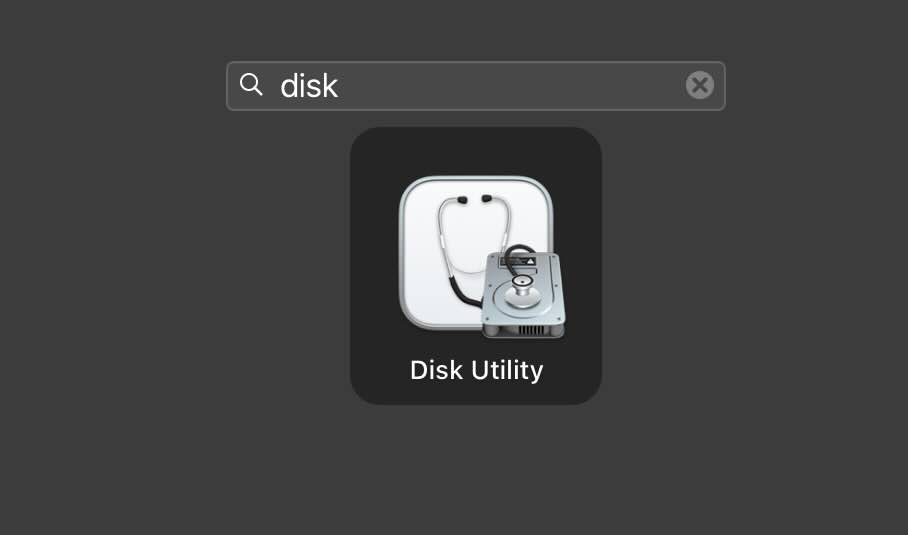
Step 2: Open Disk Utility
- Go to Finder > Applications > Utilities > Disk Utility.
- Alternatively, use Spotlight Search (Cmd + Space) and type “Disk Utility.”
Step 3: Select the USB Drive
- In the left sidebar, locate your USB flash drive under External.
- Click the drive name (e.g., “SanDisk USB”) twice—first select the parent device (usually labeled with the storage size), then the volume below it.
Step 4: Erase the Drive
- Select Erase in the top toolbar.
- Configure the settings:
- Name: Assign a new name (e.g., “Backup Drive”).
- Format: Choose a file system:
- APFS: Optimized for macOS 10.13+ (best for SSDs and internal drives).
- Mac OS Extended (Journaled): Compatible with older macOS versions.
- exFAT: Ideal for cross-platform use (Windows and macOS).
- FAT32: Universal compatibility but limited to files under 4GB.
- Scheme (if available): Select GUID Partition Map for Intel-based Macs or Apple Partition Map for older systems.
- Click Erase to confirm.
Step 5: Eject the Drive
Once formatting completes, click Eject (⏏) next to the drive name in Disk Utility or Finder.
Tips for Disk Utility:
- Use exFAT if sharing files between macOS and Windows devices.
- Avoid FAT32 for large files (e.g. videos, disk images).
- If the drive isn’t visible, try a different USB port or restart your Mac.
Part 2: Formatting a USB Drive Using Terminal (Command-Line Method)
For advanced users, Terminal offers precise control over the formatting process.
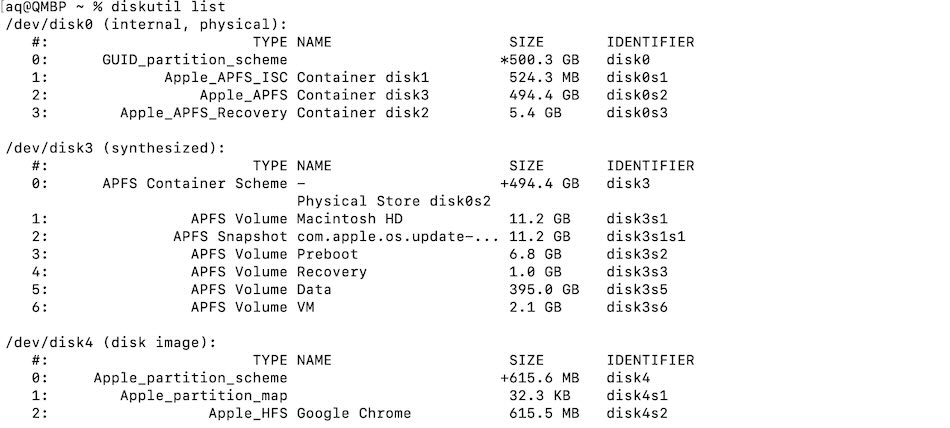
Step 1: Identify the USB Drive
- Open Terminal (Finder > Applications > Utilities > Terminal).
- Type
diskutil listand press Enter. - Locate your USB drive in the list (check the size and name, e.g.,
/dev/disk2).
Step 2: Unmount the Drive
Unmount (but don’t eject) the drive using its identifier:
bash
diskutil unmountDisk /dev/diskX
Replace `diskX` with your drive’s identifier (e.g., `disk2`).
Step 3: Format the Drive using the following commandsudo diskutil eraseDisk FILE_SYSTEM NAME DISK_IDENTIFIER- **FILE_SYSTEM**: Choose from `APFS`, `JHFS+` (Mac OS Extended), `exFAT`, or `FAT32`.
- **NAME**: The new volume name (e.g., “USB_Drive”).
- **DISK_IDENTIFIER**: The drive’s identifier (e.g., `disk2`).
Example Command for exFAT: bash
sudo diskutil eraseDisk exfat USB_Drive /dev/disk2Step 4: Verify the Format
1. diskutil list again to confirm the new file system.
2. Eject the drive safely using:
bash
diskutil eject /dev/diskX
Terminal Tips:
- Use
man diskutilto view the manual for advanced commands. - Double-check the disk identifier to avoid formatting the wrong drive.
- Add
-forceto bypass confirmation prompts (use with caution).
Choosing the Right File System
- APFS: Best for macOS only SSDs and modern workflows (supports encryption).
- Mac OS Extended (HFS+): Use for Time Machine backups on older macOS versions.
- exFAT: Ideal for large files and cross-platform sharing.
- FAT32: Compatible with most game consoles, media players, and older devices.
FAQs About Formatting USB Drives on macOS
1. Will formatting a USB drive delete all data?
Yes.
Always back up files before formatting.
2. Why is my USB drive not showing up in Disk Utility?
Try these fixes:
- Reconnect the drive or use a different USB port.
- Restart your Mac.
- Check for hardware damage.
3. Can I recover data after formatting?
Only with third-party recovery tools like Disk Drill, and only if the drive hasn’t been overwritten.
4. How do I format a USB drive to work with Windows?
Use exFAT or FAT32 (if file sizes are under 4GB).